
For the majority of our history, we’ve relied on the inherent wisdom of plants for both medicine and nourishment. Even as modern pharmaceuticals become widespread, nature continues to provide a plethora of safe, effective remedies to those who know where to look.
High quality dried herbs are easier than ever to source from reputable companies like Mountain Rose Herbs, Starwest Botanicals and Oregon’s Wild Harvest. With the click of a mouse, a treasure trove of high-quality dried herbs can be delivered to your doorstep in a matter of days.
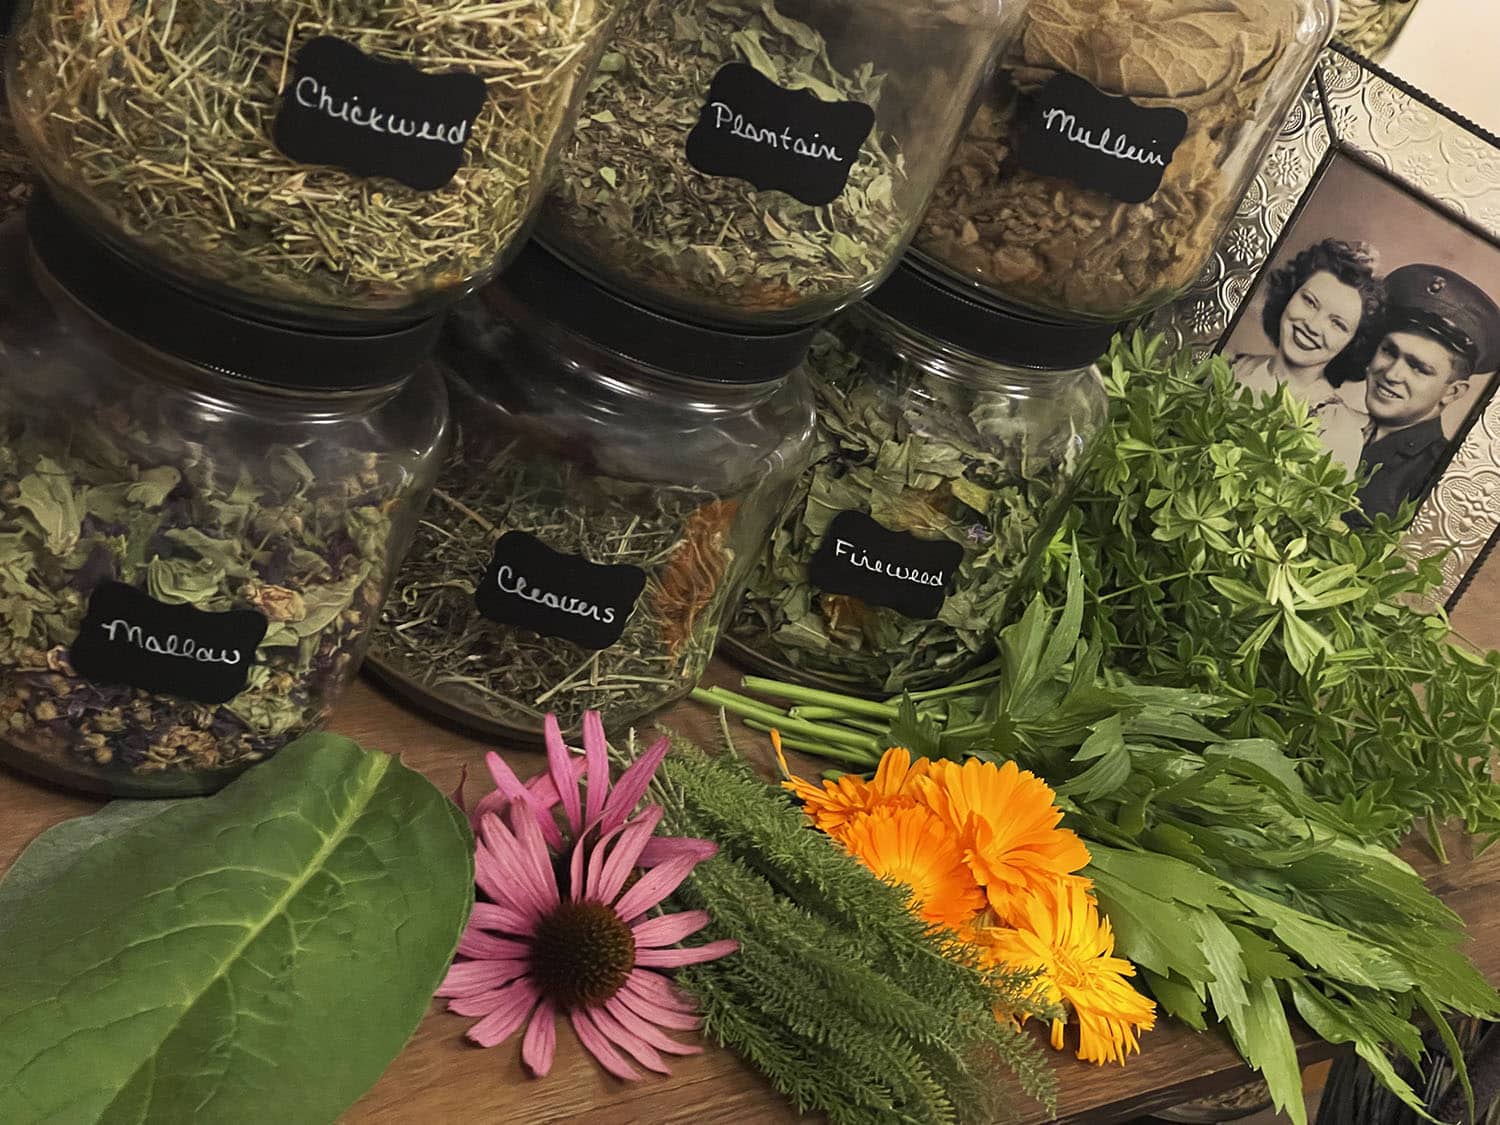
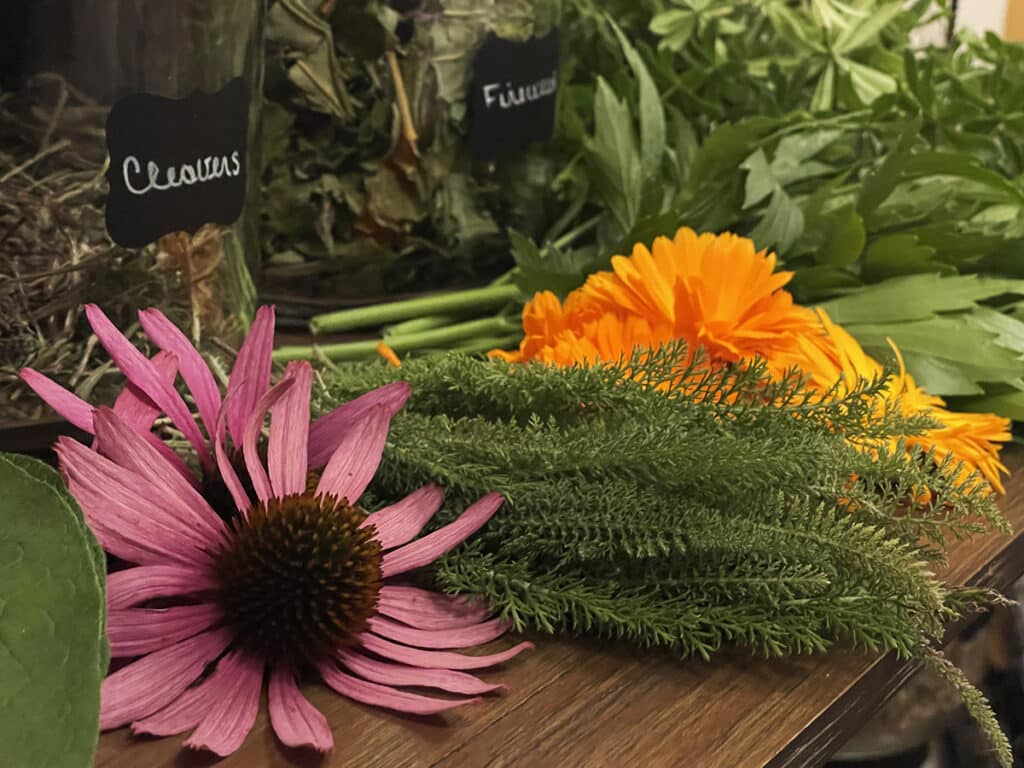
Creating your own home herbal apothecary from locally foraged and homegrown plants can take your herbal preparations to a whole other level! In addition to the cost savings, there’s something profoundly satisfying about growing, harvesting and preparing your own herbal remedies. It links us to that traditional wisdom passed down to us through generations.
Foraging offers a unique opportunity to connect with our local ecosystems. It heightens our senses as we learn to recognize different plants, appreciate their unique scents, textures and colors, and gain an understanding of their seasonal cycles. Each plant you gather carries its unique story and, I would argue, an extra *something* that you contributed via your relationship with the plant.
All that said, the convenience of purchased herbs absolutely has its place. I don’t forage everything (not even close). I buy quite a few of my herbs. Not everything I like to work with grows where I live and, for those things, I’m a big fan of companies like Mountain Rose Herbs and Starwest Botanicals.
It doesn’t have to be be all or nothing! As a card carrying perfectionist, I’m incredibly fond of the mantra:
“Don’t let perfect be the enemy of good.”
It’s something I have to remind myself of constantly.
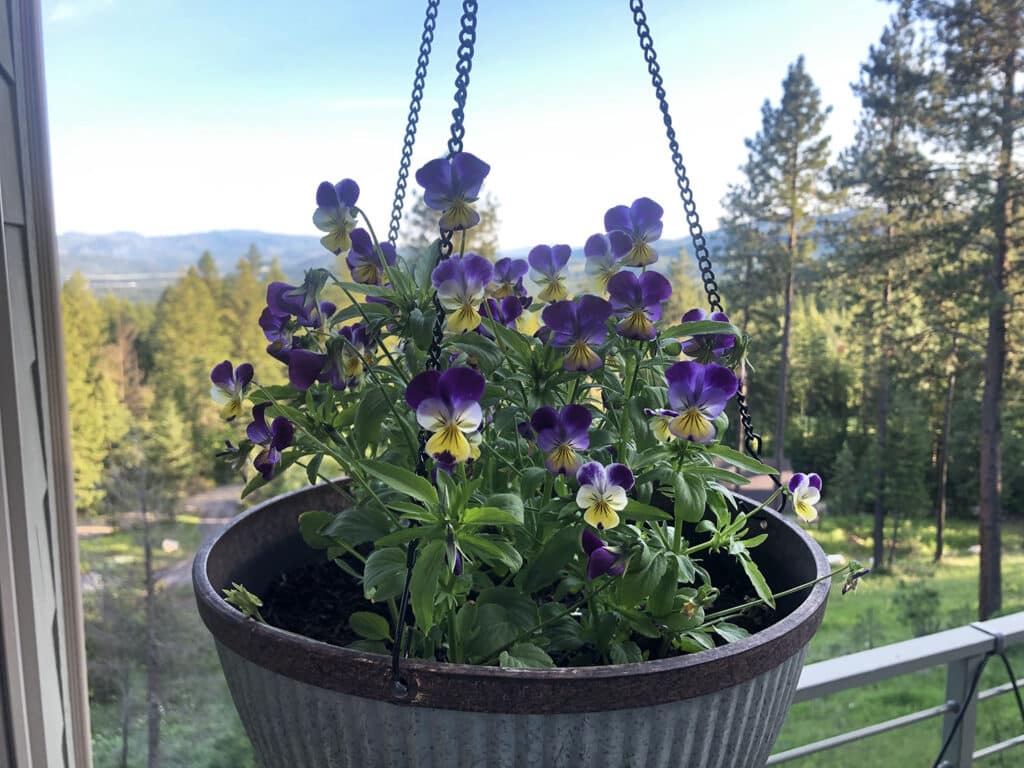
We’re just talking about making an effort to grow or forage what you can. “Foraging” in your own garden can be just as rewarding as wildcrafting herbs. Cultivating a medicinal herb garden (even if it’s just a mini one on a south-facing windowsill) fosters an intimate relationship with your plants and reduces the strain on wild plant populations — plus you always have a steady supply of herbs at your fingertips! Creating a living apothecary allows you to connect with nature while crafting potent plant-based medicines tailored to your family’s needs.
Start with the basics
At its heart, herbalism is about developing a relationship with plants.
Begin by simply paying attention to what’s growing around you. Learn to identify a few species and become comfortable with them. Educate yourself about their growth cycles. Get to know the local flora through season-by-season observation.
Invest in field guides and learn to use them. I probably use my Lone Pine field guides more than any of the others. It’s worn, dog-eared and well used. Always consult multiple sources when identifying a new-to-you plant. Learning to accurately identify plants is crucial to ensure you’re collecting only safe, beneficial and unthreatened herbs.
I cannot stress this part enough. Improper identification can lead to serious health consequences. Never ever consume a plant you’re not 120% certain about.
Local experts can be invaluable for this. When in doubt, seek guidance from local plant people for insights into regional plant identification and knowledge. Take workshops or consider joining local foraging groups. While books and online resources will always be an indispensable part of your arsenal, nothing beats hands on learning from experienced herbalists and botanists who know your local area!
It’s also vital to have a thorough understanding of a plant’s growth cycle, best harvesting times and specific uses.
Start your own materia medica
A materia medica is a comprehensive reference or journal of plant monographs that herbalists and natural healers use to document information about medicinal plants. If you’re unsure where to start and prefer a template, I’ve made a handy printable monograph to get you started! ♥
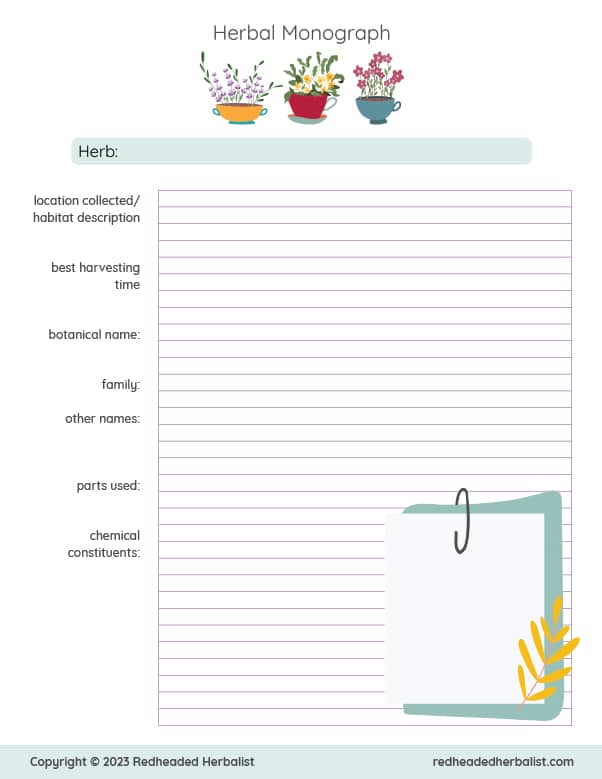
Print one of these for each plant you work with and keep them in a dedicated binder. Make notes about your personal experiences with the plant, where you found it, what you’ve learned about its growth cycle, best harvesting time, specific uses, therapeutic actions, favorite preparations and recipes, etc. Try your hand at sketching the plant in the provided frame.
Recording your experiences helps you to refine your knowledge, plus it creates an invaluable personalized resource that you will likely reference again and again!
Timing matters
Different herbs have different optimal harvesting times. Understanding when each plant is at its peak for medicinal potency and flavor is fundamental to creating an effective home apothecary.
Leaves are often the most accessible part of a plant and can usually be harvested throughout the growing season. Generally speaking, leaves are at their peak potency just before the plant starts flowering. Once the plant begins to flower, some of its energy shifts towards reproduction, which may result in a redistribution of the plant's chemical constituents.
Leaves are usually best harvested in the morning when their essential oils are most potent — after any dew has dried but before the sun gets too intense. Choose young, healthy leaves, as they tend to have higher concentrations of beneficial compounds. Avoid harvesting leaves that show signs of disease or stress.
For some plants, you can continue to harvest leaves throughout the growing season as long as you don't take more than a third of the plant at a time, leaving enough for the plant's health and continued growth.
Harvesting flowers requires careful attention to the plant's growth cycle, and are typically harvested when they are in full bloom, just as they are opening, which is when they contain the highest concentration of volatile aromatic compounds.
Flowers are usually best harvested in the morning or during the cooler parts of the day when their aromatic oils are at their peak, and after any dew has evaporated.
Use clean, sharp scissors or pruning shears to minimize damage to the plant. Choose flowers with vibrant colors and no signs of wilting or discoloration.
For example, if you're interested in capturing essential oils and volatile aromatic compounds, these will be most concentrated just before the plant expends energy on seed production — that is, before the plant is pollinated. Flowers make essential oils for multiple reasons, not least of which to attract bees, butterflies and other pollinating insects to facilitate the transfer of pollen between flowers, ensuring successful pollination.
Essential oils also aid the plant in adapting to its environment. For example, they might might assist in coping with extreme temperatures or help to prevent water loss by forming a protective barrier on the leaves' surface. Some posses antimicrobial properties that can protect plants from pathogens, such as fungi and bacteria. Essential oils often contain compounds that deter herbivores and pests due to their strong scent and sometimes bitter flavor — helping the plant to survive to reproduce.
Once pollination occurs and the plant has been fertilized, its energy resources start to shift towards seed production. The plant diverts nutrients and energy away from producing nectar and attracting pollinators to support the growth and development of seeds.
How can you tell if a plant has been pollinated? It depends on the specific plant, but flowers tend to change in appearance after pollination. They may fade in color, wilt or close up as they start to develop seeds. If you see seed pods forming at the base of the flower, it's a clear sign that pollination has occurred.
If you're interested in harvesting seeds for medicinal use, wait until the seed heads have fully developed and have begun to dry on the plant. This is usually indicated by a change in color from green to brown and the seeds are firm, dry and easily detach from the plant. These mature seeds contain the highest concentration of beneficial compounds.
Harvest on a dry day (to prevent mold formation during storage) by gently shaking or brushing the seeds into a container. Avoid harvesting seeds that are still green or soft. Depending on the plant you may also be able to cut off the seed heads and place them in a paper bag to catch the seeds as they naturally release.
Separate the seeds from any remaining plant material by removing debris, chaff or any parts of the plant that aren't seeds. Use a fine sieve or mesh screen to separate the seeds from smaller particles.
Ensure seeds are completely dry before storage to prevent mold growth and ensure their longevity. Spread the cleaned seeds in a single layer on a clean, dry surface, such as a tray or a paper towel. Place the seeds in a well-ventilated area away from direct sunlight to dry naturally. Stir or turn the seeds occasionally to promote even drying.
Once the seeds are completely dry, transfer them to airtight containers, such as glass jars or resealable bags. Label the containers with the plant's name and the date of harvest, and store in a cool, dark, and dry place to minimize exposure to light, heat and humidity.
Dig up the roots when the plant has entered its dormant phase, usually in the fall after the aerial parts have died back and the plant's energy has been drawn down into the roots for winter storage.
Early morning or late afternoon is usually the best time to harvest roots, as this is when their moisture content is lowest.
Choose plants that are several years old for root harvesting, as younger plants may not have developed the necessary compounds.
Gently loosen the soil around the roots before carefully extracting them to minimize damage.
Clean the roots thoroughly, removing excess soil, and cut them into smaller pieces for drying.
For herbs where the bark is used medicinally, the best time to harvest is generally during the dormant season, when the plant's physiological activity is more concentrated in its roots and stems (including the bark).
Active compounds can be more concentrated in the bark during this period, enhancing the medicinal properties of the harvested material. Plants and trees store secondary metabolites, such as alkaloids, glycosides, and tannins, in its bark to protect itself from environmental stressors.
Harvesting during the dormant phase minimizes stress on the plant. Since it's not focusing on vigorous growth or reproduction, there's less risk of negatively impacting the plant's overall health. Sap flow is reduced and the plant's energy is focused on its roots. The bark is also more likely to be dry and less prone to damage during the dormant season, making it easier to harvest without harming the plant's tissues.
Always choose mature trees or shrubs for bark harvesting, making sure the plant is healthy and abundant, and only harvest a small portion of the bark from each plant to avoid compromising its growth and survival.
Use a clean, sharp knife to carefully peel the bark without girdling the plant.
Responsible foraging
As always, respecting the environment and plant populations is non-negotiable. Sustainable harvesting practices should always be followed to ensure the health and longevity of both plant populations and their ecosystems.
Harvest only from abundant populations to avoid depleting rare or endangered species. We are often advised to take only one-third of the plant material, leaving one-third for wildlife and one-third for future growth, but it’s even better to seek a plant stand large enough to take only a small amount from each plant.
If you’re wildcrafting on private land or protected areas, make certain you have the necessary permissions.
Make certain that the plants you choose to harvest have not been sprayed.
Strive to leave the land looking as though you were never there.
Preserve your harvest
Your fresh foraged bounty can be immediately transformed into a variety of herbal preparations that also preserve them. Start simply by infusing single herbs into water, oils, honey, vinegar, glycerin or alcohol to appreciate their unique energetics. Taste, smell and get to know the personalities of your plant allies before moving on to more complicated methods of extracting the medicinal properties from your herbs.
If you’re not going to infuse or tincture your herbs immediately, then you’ll need to properly dry them to maintain potency and prevent mold.
Air drying is traditional and involves hanging herbs upside down in a cool, dry place away from direct sunlight, or placing on a screen of some sort that allows for air flow all around the plant.
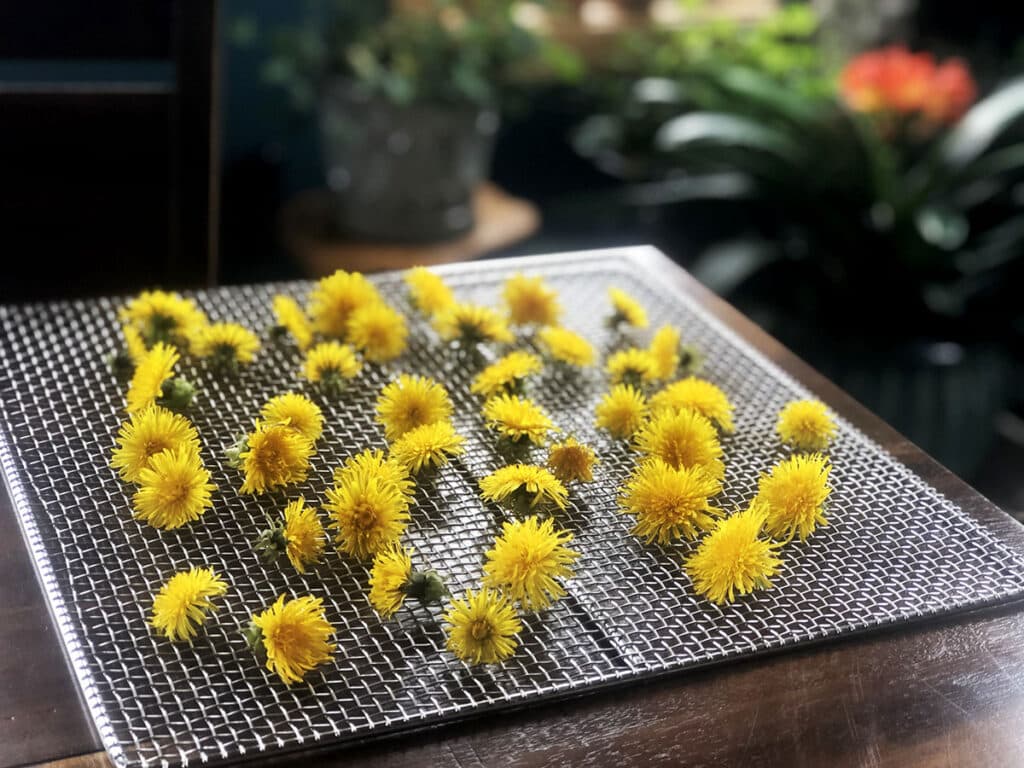
For more controlled drying, a dehydrator on a low heat setting (typically no more than 110°F / 43°C) may be used. Excalibur dehydrators are fabulous, as is my current favorite — the Tribest Sedona Express is incredibly well-built with a 2-stage timer and a heavy hinged glass door that allows you to easily keep tabs on your drying projects.
If you’re lucky enough to own a home freeze dryer, this is probably the gold standard for drying and preserving a plant’s potency. Freeze drying involves freezing the herbs and then removing moisture from them through sublimation, which is the transition of water from a solid (ice) directly into vapor (water vapor) without passing through the liquid phase. This process preserves the herbs’ delicate compounds, including volatile oils, antioxidants and other bioactive substances that give plants their medicinal qualities. Freeze-drying also preserves herbs’ color, aroma and flavor, making them more appealing for medicinal and culinary applications.
Harvest Right makes a line of high quality home machines that make home freeze drying attainable. It’s a fabulous way to preserve your garden produce!
Generally speaking, it’s best to leave the plant matter intact whenever it makes sense to do so.
Dry leaves and flowers whole to help preserve their essential oils and medicinal compounds. Whole leaves and flowers will have a longer shelf life and retain their flavor and potency since they have less surface area exposed to oxidize.
Tougher plant matter such as roots and bark should be chopped into smaller pieces to allow them dry more evenly and thoroughly, reducing the risk of mold or spoilage.
Seeds can generally be dried intact, especially if they are small. However, if you’re dealing with larger seeds, you might consider gently cracking or breaking them before drying. This will aid in the drying process and also make it easier to extract the seeds from their casings if applicable.
Especially woody stems can also take longer to dry. Depending on the herb and stem diameter, consider removing the leaves and flowers from the stems and drying them separately.
Freezing is another way to preserve the medicinal properties of certain herbs that might not retain their potency as well through traditional drying.
Mucilaginous herbs, like marshmallow root (Althaea officinalis) and plantain (Plantago) contain mucilage that imparts soothing and demulcent properties. Freezing can help maintain their viscous texture, making them easy to add to “throat coat” teas, sore throat lozenges and drawing poultices.
The volatile oils of aromatic herbs can also evaporate or degrade when exposed to heat and air, leading to loss of these beneficial compounds. Fresh herbs such as basil (Ocimum basilicum), mint (Mentha spp.) and rosemary (Rosmarinus officinalis) can be frozen in ice cube trays along with a little water, olive oil or ghee to preserve their essential oil content, flavor and aroma.
Best storage practices
Proper storage is just as important as proper drying techniques. Herbs, like any food, have a shelf life that is dependent on the manner in which they’re kept.
Always store dried herbs in airtight, preferably glass containers such as mason jars, away from light, heat and humidity. Air will oxidize your precious herbs over time, making them break down much more quickly.
Before you close up the jar, maybe absolutely certain your herbs are good and dry — especially if you’re harvesting and drying your own. Dried herbs must be completely dry or they will develop mold. Properly dried herbs will feel crisp and crumble easily.
Store your jars in a cool, dry and dark location to maintain their quality for as long as possible. Light and heat can both cause chemical reactions that lead to the breakdown of essential oils, antioxidants and other constituents responsible for your herbs’ medicinal and aromatic qualities. A pantry or cupboard away from direct sunlight and heat sources like stoves, ovens or radiators is ideal.
Label each jar with the herb’s name and harvest date for easy identification, allowing you to easily access the healing properties of each herb when needed.
(Trust me on this — plants that are easily identified while fresh may begin to look (and sometimes even smell) very similar dried and stored in identical jars!)
Every plant is different
Of course, these guidelines are generalized. Each plant species may have specific requirements, so it’s essential to do your own research and be prepared to adapt your harvesting practices accordingly.
The best way to get started is simply to start. ♥