

Infused oils are a foundational cornerstone of herbal-powered wellness products such as salves, creams, lotions, serums and other topical formulations. Oil acts as a solvent (aka menstruum) to capture oil-soluble plant constituents such as alkaloids, gums, resins, volatile oils, and certain oil-soluble vitamins (A, D, E, K), allowing the plant’s therapeutic compounds to be delivered to the skin.
Besides these oil-soluble compounds, generally speaking, oil is a less effective solvent for extracting the majority of herbal constituents compared to water or alcohol. There are a handful of herbs such as mullein flowers and St. John’s wort, which extract extremely well in oil, but for the rest, it’s not a bad idea to do an alcohol intermediary oil extraction, which will maximize the potency of your oil infusion.
Before you begin, it’s important to make certain that the oil or fat you’re working with is high quality — preferably organic and cold pressed. Oils such as almond, olive, jojoba, tallow, lard, avocado and coconut are good choices, depending on your specific formulation goals. I personally gravitate toward more saturated and mono-unsaturated oils for their superior stability and resistance to rancidity, but you can also add antioxidants such as vitamin E to less stable oils to improve their lifespan.
The quality of your herbs are just as important as the oil. Organic herbs from trusted sources such as Mountain Rose Herbs or wildcrafted herbs from clean, unsprayed locations are a must. Thanks to their particular oil-soluble constituents, some of the herbs that lend themselves to being infused in oil are:
- arnica
- burdock (root)
- calendula
- cayenne
- chickweed
- chamomile
- comfrey (leaf & root)
- cottonwood buds
- dandelion
- elder (flower)
- frankincense
- garlic
- gotu kola
- lavender
- lemon balm
- marshmallow root
- meadowsweet
- mullein (flowers & leaf)
- myrrh
- nettle (leaf)
- Oregon grape
- peppermint
- plantain
- rosemary
- self-heal
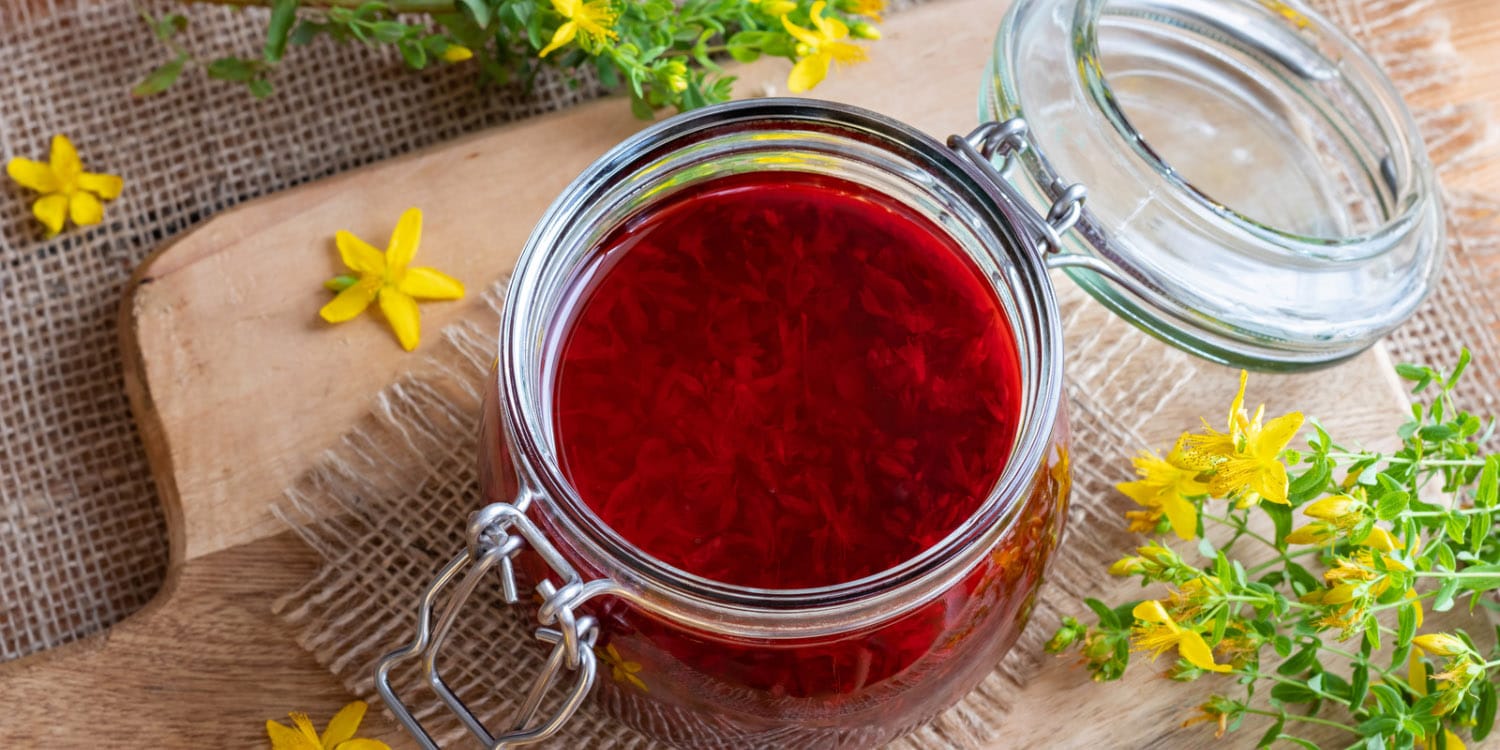
- St. John’s wort (flowering tops)
- thyme
- yarrow
Fresh or dry?
The next thing to consider is whether you will be infusing fresh or dried herbs. For most herbs, you’re going to want to use dried to avoid the risk of mold and bacteria contaminating your oil. St. John’s wort, mullein and cottonwood buds are a few exceptions to this rule. If using fresh herbs, it’s a good practice to wilt them overnight first, to let some of the moisture evaporate out of the plant.
Generally, Richo Cech recommends a 2-week maceration period for dried herbs and a 1 week maceration for fresh (with the exception of St. John’s wort, which needs 2 weeks).
Making a warm (or solar) maceration
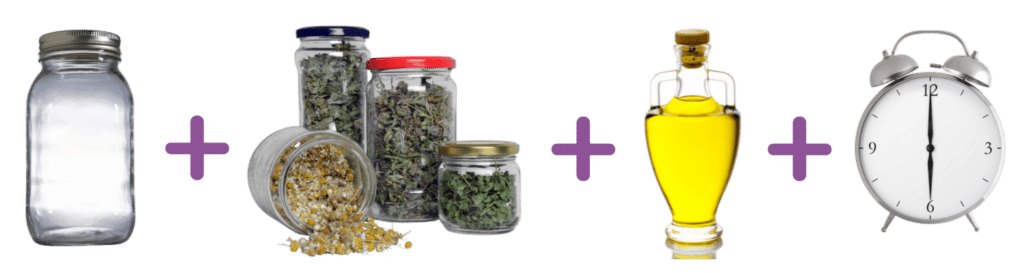
There are a lot of different methods used to infuse oil, and every herbalist seems to have their own preferred way of doing things. Some herbalists are sticklers for measuring/weighing everything. I’m not one of those. I typically use the “fill the jar half full of herbs, then fill the rest of the way with oil” eyeball method. As you can see, it’s very scientific. This also sometimes referred to as the “folk method” for making herbal medicine.
If your herbs are on the larger side, crush them with a mortar and pestle or give them a quick trip through a coffee grinder to expose more surface area. Don’t grind them too finely, though, or you’ll have a rough time straining your oil later!
Fill a clean/sterilized jar with herbs to the halfway point, and fill (almost) to the top with oil. Make sure all of your herbs are submerged in the oil. Secure the jar’s lid and wrap with a densely woven dish towel or enclose it in brown paper bag to keep it out of direct light. Place in a warm location in your home such as a windowsill for at least 6-8 weeks (longer is better). Turn the jar on its head or give it a shake every day or two for the first few weeks.
When the infusion is complete, strain out the plant material (aka marc) using a fine mesh strainer, coffee filter or cheesecloth. This method is sometimes called a warm oil infusion or a solar infusion and it’s about as simple as it gets — it just requires a bit of time and patience.
Hot oil maceration
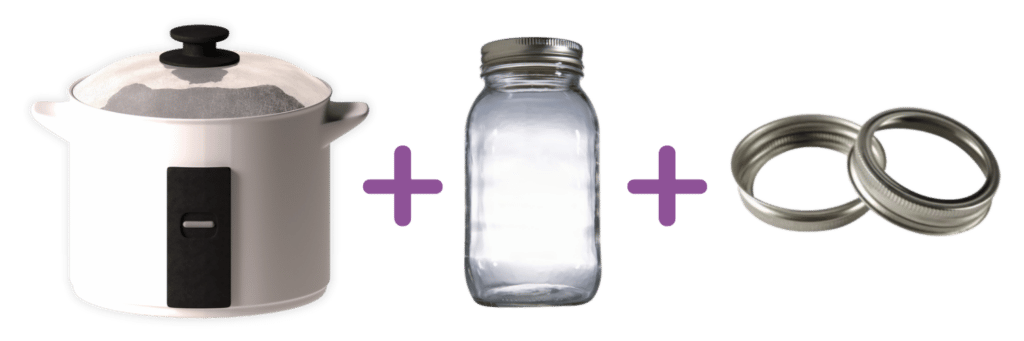
Tallow, lard, coconut oil or any oil that is solid at room temperature will require an infusion method that keeps the oil liquid for the duration of the infusion. This is known as a *hot* oil infusion. A mini slow cooker with a “warm” setting or Instant Pot on the yogurt setting work well for hot oil infusions. The gentle heat speeds up the infusion process, and your oil will be done in days instead of weeks/months.
Note that “hot” is a bit misleading, since you are not aiming for hot here, only warm. Different crockpots heat settings have different ranges, and sometimes even “warm” is too hot on some of them. I suggest doing a test run using water and check to see how hot your warm setting *actually* gets. If it’s too hot, refer to the dimmer switch crockpot “hack” below.
Simply fill your cooker with your oil of choice — again, I don’t typically measure here, but aim for roughly twice as much oil to herb by volume — and set it on warm (NOT low). You don’t want the oil to get hotter than 120F and preferably should stay within the 95-105F range. Temperatures above 110F risk losing volatile compounds (i.e. essential oils) and damaging the medicinal properties of the plant.
Another clever way to do a hot oil infusion is to fill a glass mason jar with herb and oil and place it in a warm oven or cabinet-style dehydrator (the type you can remove the shelves like an Excalibur or a Tribest Sonoma) at 95-105F. This is my preferred way to do smaller batches of oils where even a mini crockpot would be overkill. It’s also a whole lot easier to fine-tune the temperature.
Once again, different herbalists have all sorts of different recommendations for how long the oil should be infused. A day or two is pretty common. The Herbal Academy recommends 4-8 hours (or more). Richo Cech recommends a whole week for fresh herbs and two for dried. Be sure to crack the lid of the slow cooker to allow moisture from the fresh plant matter to evaporate during the infusion process.
Whatever method you choose to follow, when the time is up, turn off the crockpot and allow the infused oil to cool slightly. When the temperature is comfortable to work with, use a fine mesh strainer or colander suspended over a glass bowl to separate the oil from the marc. Use the back of a spoon to the press the plant material and squeeze out as much of the precious infusion as possible.
Cool hot oil infusion hack
In his book Making Plant Medicine, Richo Cech offers a clever and inexpensive “hack” to a crockpot with no warm setting (on some crockpots, even “warm” is too hot) or if you’d like more control over the heat settings. His suggestion requires a bit of electric know-how, so have someone comfortable with wiring to do this for you. A basic dimmer switch from the hardware store can be hardwired into your crockpot plug and voila, a simple way to fine-tune your heat source beyond the basic “low,” “high” and “warm” settings.
It’s not as elegant looking, but I bought one of these inexpensive plugin dimmers that accomplishes the same thing, minus the need for an electrician. You just need to be mindful that you don’t exceed the wattage limits — in this case 300W — which should accommodate most basic crockpots (but not an Instant Pot, which is going to be considerably higher wattage).
Water bath
Another alternative if your crockpot doesn’t have a warm setting, is to do a hot water bath. To infuse oil using a water bath, place your oil and herb into a glass jar covered loosely with a lid. Set the jar inside the crockpot on a trivet (or a few canning rings) to keep the jar from making direct contact with the hot crockpot vessel. Then fill the crockpot with water until it reaches about 1″ from the top of the jar of oil and herb and set your crockpot on low.
For the record, I’m not as big a fan of the water bath method of oil infusion as some herbalists for the simple reason that you risk introducing condensation (aka moisture) into your oil, which can dramatically shorten its shelf life. If your crockpot doesn’t have a suitable warm setting, I would encourage you to invest in an inexpensive one that does or add a dimmer.
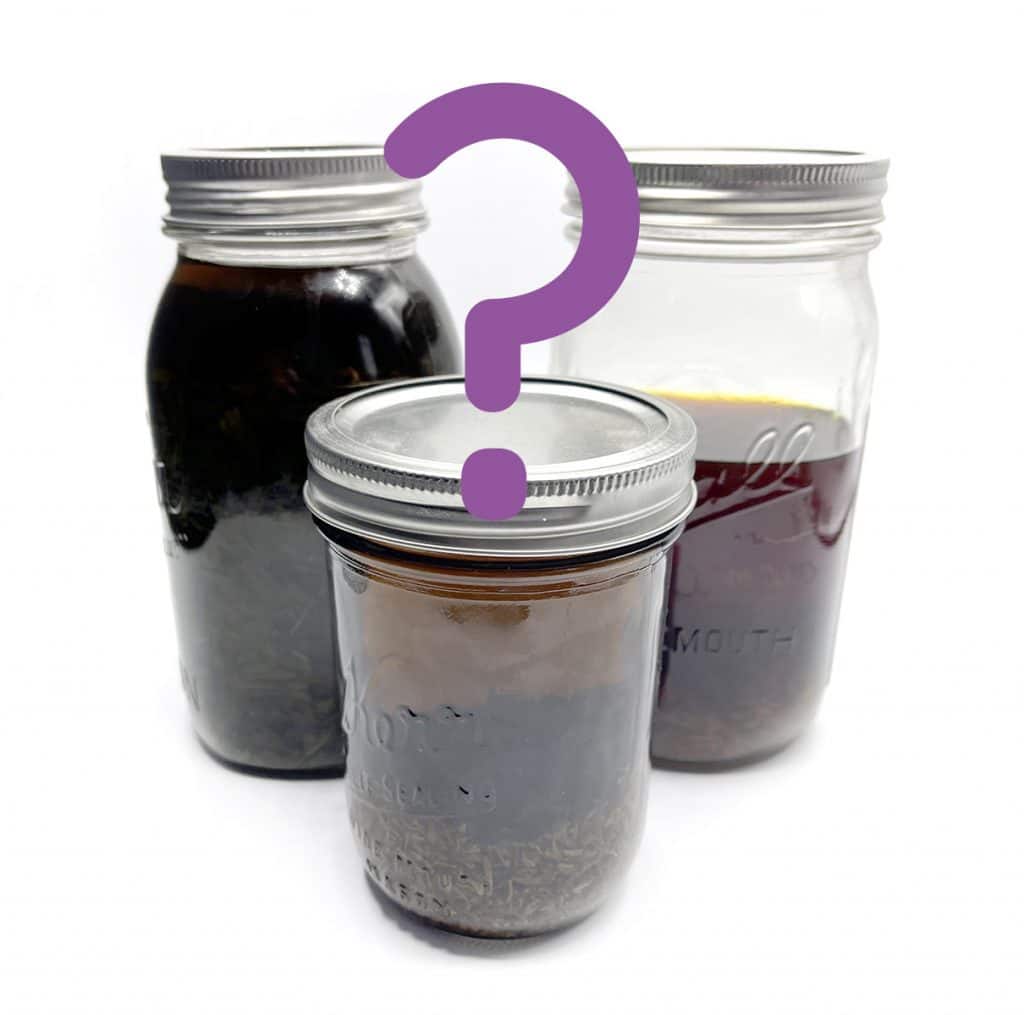
Storage
Store your finished oils in airtight glass jars kept in a climate controlled dark cabinet or closet away from sunlight. Your nose will likely tell you when your infused oil goes bad, but most herbalists agree that properly prepared fresh herb oil infusions will last about a year, while dried herb oil infusions will last up to 2 years.
DON’T.
FORGET.
TO LABEL.
THE JAR.
The name of the oil, infused plant and date are the bare minimum, even if you just jot the info down on the glass jar with a sharpie marker. It’s also helpful to record whether the plant was dried or fresh, and, if wildcrafted, location from where the plant was collected. Another suggestion is to record the intended purpose of the infusion (i.e. “mullein & garlic oil for earache” or “fresh nettle tincture for hay fever/allergies”) and any dosing information so you don’t have to look it up every time you use your preparation.
I can’t tell you how many times I’ve found a random jar of infused *something* with no label. At the time, I thought “I’ll label it later… I know what’s in there.” Trust me. In as little as a week, you probably WILL NOT remember what’s in that jar. Please label your jars. It’s so painful to have to throw away a precious infusion because you have no clue what’s in it.
A part of me is hoping that if I hang onto these long enough, I’ll eventually remember what they are. Yeah. Not going to happen.

8 Responses
Hello! Thank you for this great blog post! I like using grapeseed oil in my skincare products because it absorbs quickly and it does not feel as heavy on the skin as other oils. What do you think about using grapeseed oil to infuse with herbs? I would appreciate your opinion. Thank you!
I am admittedly a bit myopic on this point, but I tend toward the more stable saturated and monounsaturated oils for my products. Grapeseed oil is roughly 75% polyunsaturated (mostly omega-6 linoleic acid). The extra double bonds in polyunsaturated fatty acids make them susceptible to degradation by oxygen, leading to the formation of free radicals and ultimately causing the oil to become rancid. Factors such as light and heat also accelerate oxidation. And while there’s limited research specifically focused on the effects of applying rancid oils to the skin, I have a strong preference for the more stable ones (i.e. mono and saturated). My reasoning is that it’s difficult to know how long any particular oil has been sitting on the store shelf or what conditions it’s been exposed to before it reaches you. Rancid oils can lose their beneficial properties due to the oxidation process – or worse – the oxidation may have produced free radicals, which *might* cause oxidative stress and trigger inflammation on the skin. I may be overcautious here, but on the rare occasion I do use the more delicate polyunsaturated oils in formulation, I try to combine them with a good amount of saturated and mono oils to help protect them as antioxidants.
Thank you very much for the additional information! Do you use the oil infused with herbs at full strength? Is there a way to estimate how potent the oil infusion is, or is there a recommended percentage to include in skincare formulas? Thank you very much!
Without specialized lab equipment, I’m not aware of any practical ways to estimate potency in a homemade oil infusion other than sensory cues like color and smell. If your oil is taking on the color of your herbs, it’s a sign that oil is extracting constituents related to pigment such as carotenoids, anthocyanins and tannins. You can also watch for the infusion taking on the scent of your herbs, which would be a sign that it’s effectively extracting the plant’s essential oils and terpenes.
Recommended percentages depends on the herb used and what you want to do with it. Personally, most of my infused oils end up as an ingredient in a larger formula, though you can usually use these oils at 100% with no problem. An exception would be if you’re working with a plant that contains a phototoxic essential oil such as bergamot or lemon. There are definite limits to how much of those oils can be used before you see photosensitivity and other side effects.
Thank you very much, for the additional information. I truly appreciate it!
Thank you so much for all the great information! I have Grass-Fed beef tallow, but as you know it’s not liquid at room temperature. Do you think it would be beneficial to add some olive oil to it for the infusions? Like maybe half Tallow half olive oil? Not sure what ratio would be best.
Absolutely! I’ve made infused tallow and olive oil blended products before and they turned out lovely. Ratio will depend on what you want to use the blend for. Half and half will be pretty soft. Adding 1 part olive oil to 4 parts tallow will give you more of a balm consistency. Let us know how it goes!
Wonderful information!! I’m wondering if you have information on using tinctures in the herbal infused oils for salves or other body care products. Thanks for the specifics in your site!