

At a recent herbal apprenticeship class, I learned a very simple tweak to my usual maceration process that creates much more potent alcohol tinctures and alcohol intermediary infused oils.
I knew that blenders could be used to speed up the infusion process, but since I’d never tried it myself, I never realized how much stronger blending can make the end product. It’s not just about speeding things up… the vibrant colors achieved by blending herbs as part of the infusion process are mind blowing! ♥
It stands to reason that the more surface area you can expose to your solvent, the faster and more efficient your extraction. Chopping your herb into small pieces before extracting is a good practice, but there’s a better (and easier!) way.
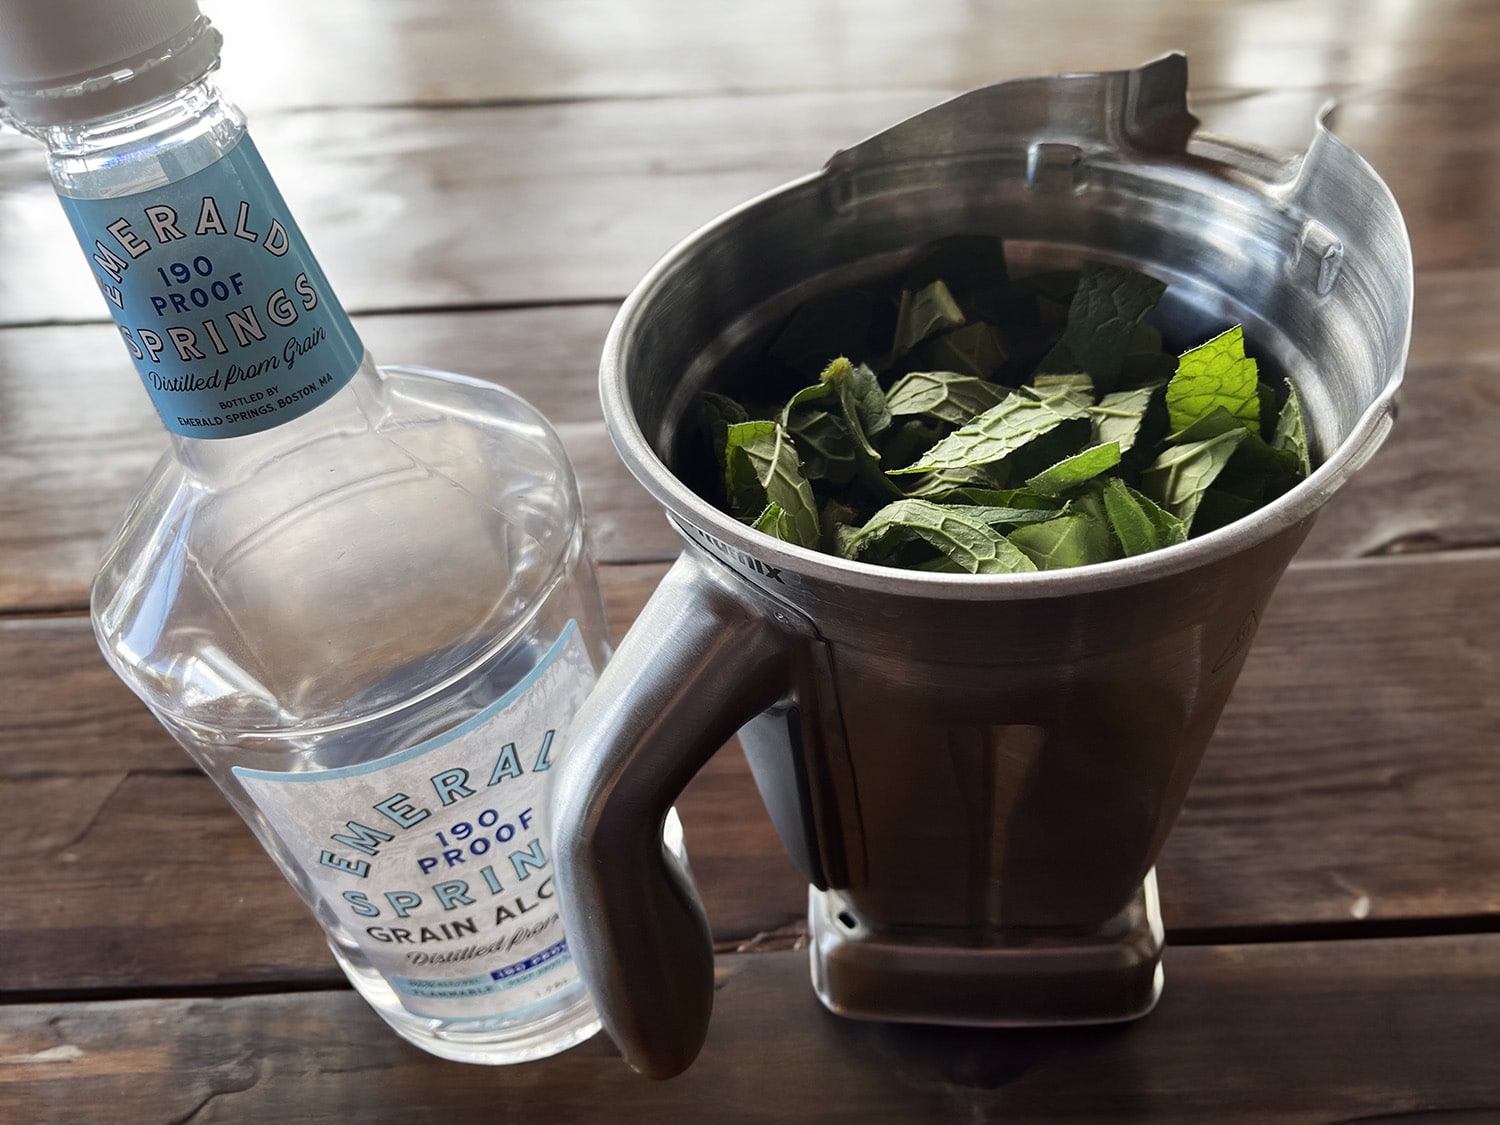
Enter: the Vitamix.
(or Blendtec or other high-power blender)
For the casual herbalist, the blender is the simplest way to achieve the smallest possible particle sizes at home. (As Suzanne Tabert says, “Open ALL those doors and windows!”) If you don’t have a high-powered blender, you can use just about any blender to do this. We did have to coddle and fuss with the “regular” blender quite a bit, trying to get it to incorporate the herbs and the alcohol. On the other hand, the Vitamix made quick work of it.
The method couldn’t be easier.

Infused oil shortcut
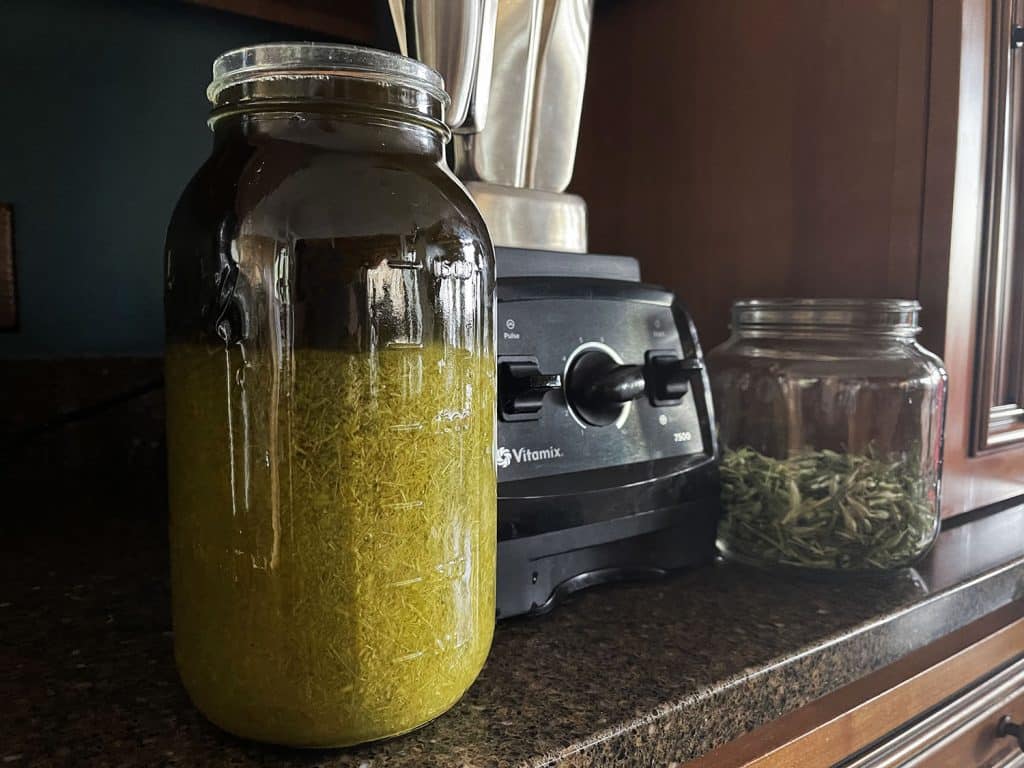
Roughly chop your herbs and fill your blender. Eyeball approximately how much plant matter you have in the pitcher, and add about 1 tablespoon of high-proof ethyl alcohol per cup of herb. So, for example, if you have three cups of fresh comfrey leaves/stems in the blender, aim for about 3 tablespoons of alcohol.
This method works best for fresh plants, but it can work for dried too. If using dried herbs, you’ll need to use a bit more alcohol to moisten them to the point that the blender will process them. Add a little at a time until the herbs start moving.
Use the highest proof alcohol you can find. 190 proof (95%) is ideal, but 151 proof (75%) is more common and easier to find in some states (looking at you, Idaho). Basically, you want as little water left in the herb as possible when it goes into the oil, since water + oil without a preservative is a sure ticket to mold town.
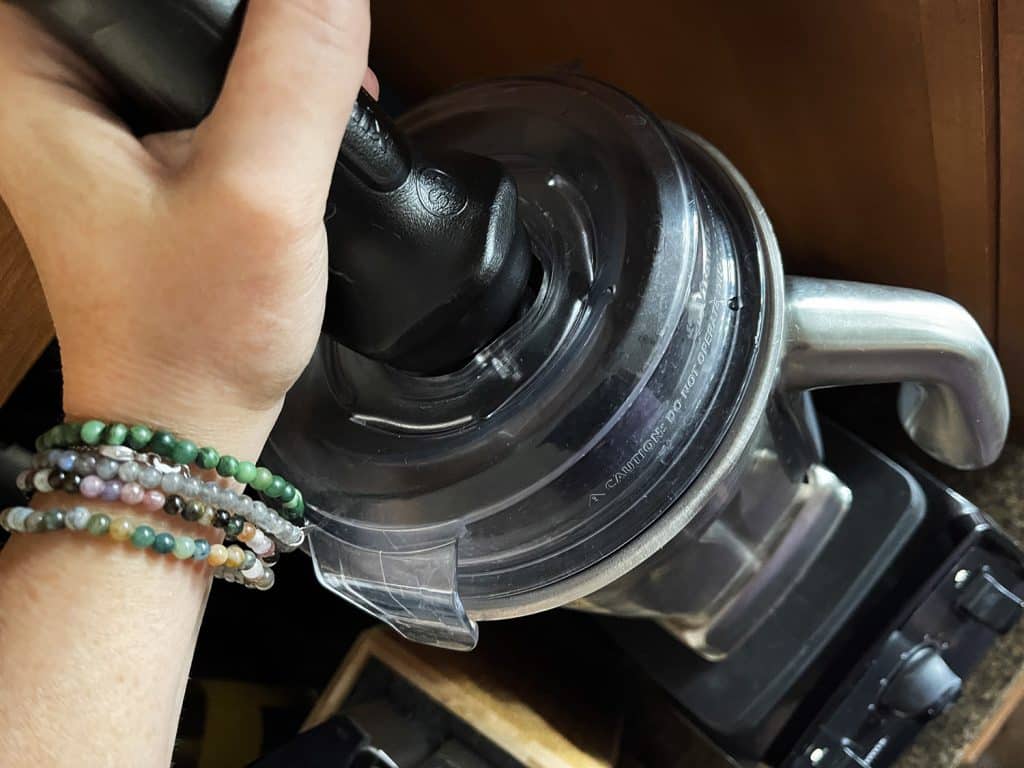
Turn on the blender and let it run until the alcohol and herb appears uniformly distributed. If necessary, use the tamper tool that comes with most high-power blenders to help the process along. Resist adding additional alcohol unless the blender really isn’t wanting to process the plants. Remember, the goal is to not have any liquid left in your final infused oil, so keep that in mind if you choose to add a bit more.
When the herb and alcohol are fully blended, it’s time to take a break for a few hours to let the herbs macerate. Maybe go outside and enjoy some sunshine while the alcohol does its thing and pulls out the alcohol-soluble constituents.
Fast forward a bit, and now you’re ready to add oil. If you’re infusing a solid oil such as tallow or coconut oil, you’ll want to melt it first. Pour your chosen oil into the blender until all of the plant matter is submerged under approximately 1″ of oil.
Turn on the blender, adding additional oil as needed to get the plant matter moving if it’s being stubborn. Keep blending for a several minutes — you want the pitcher to feel good and warm.
It’s a good practice to apply gentle heat for day or two to make absolutely certain that all of the water content of the plant is evaporated out of the oil. Transfer the maceration to a mini crockpot on the “warm” setting (“low” is going to be too hot). Leave the lid off to allow any moisture to evaporate. You can also use an open glass jar placed in a warm dehydrator cabinet at 100F. After a day or two, your oil should be ready.
Strain into a glass storage jar using a cheesecloth-lined mesh strainer or colander or a nut milk bag. Take a moment to appreciate and admire the vivid color of your newly-infused oil. Be sure to wait until the oil has cooled to add the lid so you don’t inadvertently re-introduce moisture via condensation.
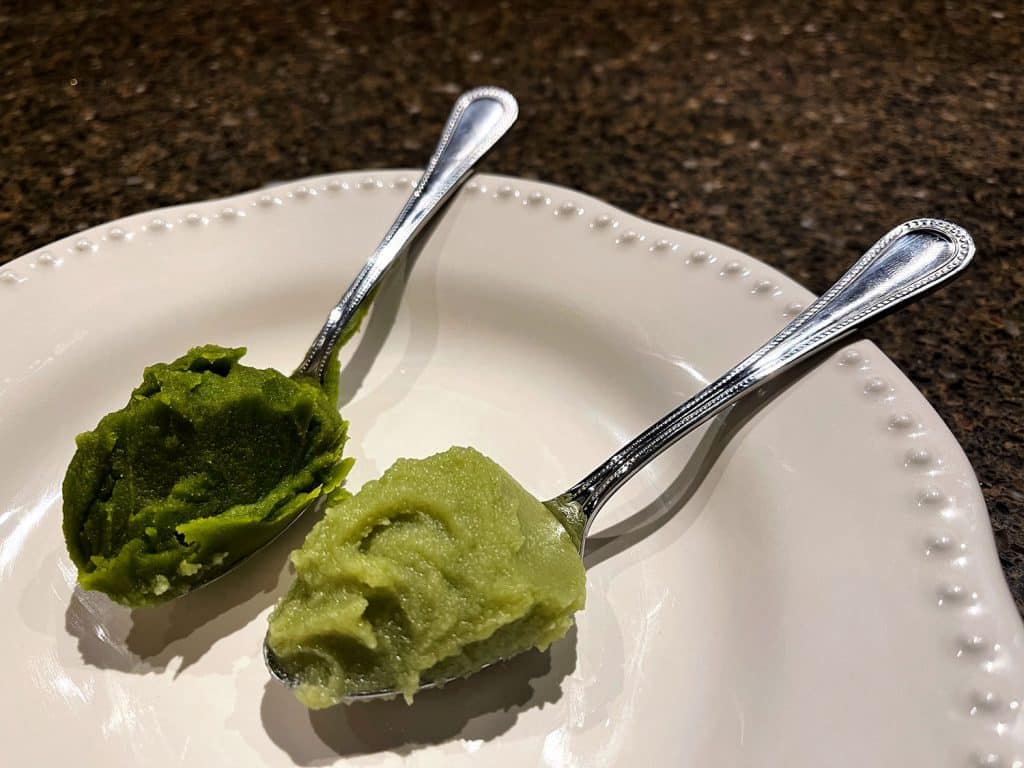
Check out the rich color of an alcohol intermediary infused tallow made with the blender method versus an infused tallow made the regular way in a slow cooker:
Alcohol tinture shortcut
For alcohol tinctures, the process is even simpler.
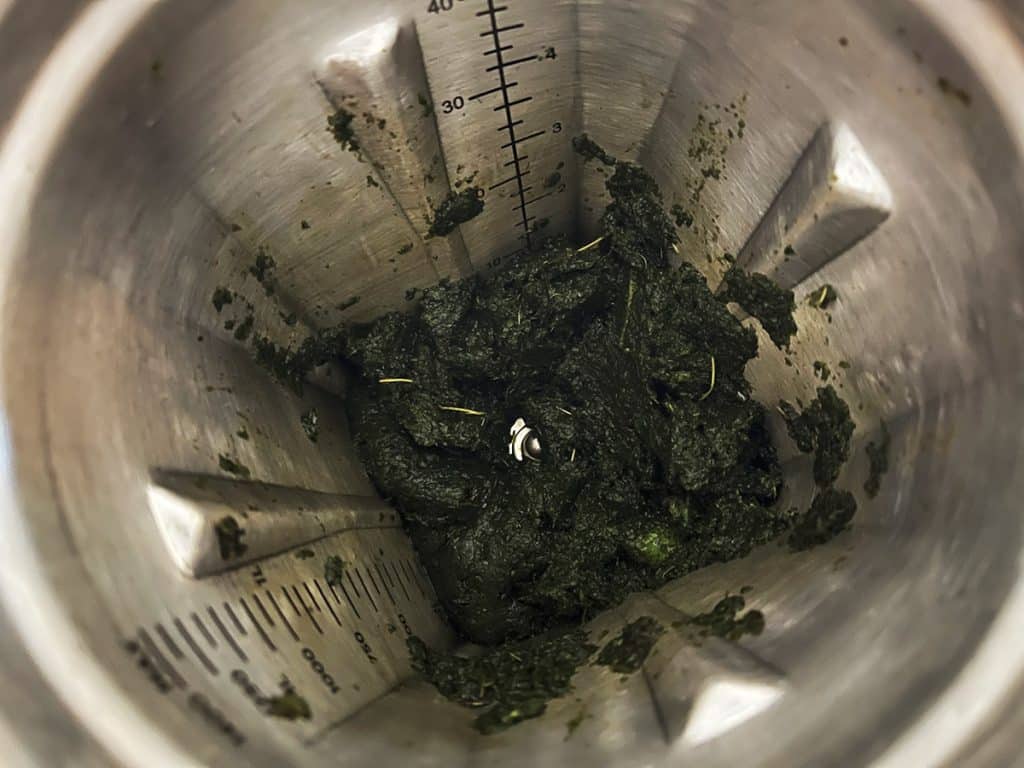
Fill your blender with herbs. Add enough alcohol to allow the blender to process the plants. You’re not going for soup here, just use enough to get the plants moving comfortably in the blender. Let the blender run for a few minutes until the sides of the pitcher start to get hot. You should have a rather thick mass of plant pulp when it’s done.
Pour (or spoon) the plant pulp into a mason jar to about the 3/4 mark, then fill the jar to the top with alcohol. Cover and shake. In a few days, your tincture will be done and ready to use. At this point, you can choose to strain out the plant matter or not. Personally, I usually let the herb live in my tincture jars. It tends to sink to the bottom, so it’s easy to skim off the top to fill my dropper bottles.
A blender tincture of fresh milky oat tops and (dried) oat straw:
Remember to use an alcohol proof appropriate to the plant you are working with. Different herbs respond to different dilutions of alcohol and water and fresh plants typically require a higher proof than dried.
One of my favorite comprehensive resources for this sort of information is Richo Cech’s Making Plant Medicine book. It’s also available as an eBook if that’s more your speed. Michael Moore’s materia medica is a good free resource. Next to each herb, you’ll see a notation that looks something like:
1:5, 50% alcohol
This translates to: 1 part herb by weight to 5 parts 50% (aka 100 proof) alcohol by volume.
If you’re using the folk method, you don’t actually need to weigh anything, but that percentage is still important to know. Some herbs extract better with a high proof, and other do better with a lower alcohol percentage. It depends on each individual herb’s primary constituents, how alcohol affects them, and what will best draw them out.
Label label label
I know I sound like a broken record, but this step is so, so important. There’s nothing sadder than finding a mystery jar of infused oil or tincture and having no clue what it is. ☹️
Label your jars with the name of the infused herb(s), the solvent used (including the percentage of alcohol if applicable) and the date. Even better, note the purpose of the infusion:
Is the tincture intended to support the immune system during cold season?
Is the infused oil meant to soothe an itchy rash or skin irritation?
Write that junk down.
I own an inexpensive label maker that I use to label my tincture bottles and other creations, but masking tape and a sharpie will do the trick too.
As Captain Obvious always says, you’re more likely to use your wonderful infusions if it’s easy to remember why you made them in the first place!

6 Responses
Hey there! How do you use fresh herb this way without oxidizing? I just tried this with fresh comfrey leaves and 190 proof and it turned brown after an hour!
Additionally if using dry herb how much alcohol do you use.
Thanks!
Hi Steph! I’m sorry to hear your comfrey browned during the alcohol maceration step. The above example was done using fresh comfrey from my garden. I’ve only seen oxidation with lower proof alcohols, but if you also used 190-proof, then that’s not the issue.
There are many factors that can influence oxidation – for example, if the comfrey wasn’t freshly harvested. Even slight variations in the freshness can cause browning. If the comfrey was slightly older or bruised, it might have started the oxidation process before the alcohol was added. It’s also possible your comfrey had a higher water content (perhaps due to recent rain or different growing conditions). Water content can dissolve more oxygen, increasing the likelihood of oxidation. Light exposure is another factor, and can accelerate oxidation and lead to browning.
You could try wilting your comfrey overnight to reduce the water content and the risk of enzymatic browning. BUT, doing that could also potentially increase non-enzymatic oxidation depending on how much oxidative stress the plant experiences during wilting. If you choose to wilt the comfrey, try to do it in a controlled environment (e.g., cool, shaded, with good air circulation) to minimize unwanted oxidative changes.
I’ve always used cheesecloth and a rubber band during the alcohol step, but it might not be a bad idea to cover your herbs with an airtight lid to reduce oxygen exposure (and the risk of oxidation).
I don’t process dried herbs this way nearly as often, but for dried I’d start with roughly double the amount of alcohol. Basically, you need *just* enough liquid to allow the blender to blend properly.
thank you for this – I tried this with arnica flowers and am looking forward to the same method with calendula flowers..
Yay, I love hearing that! Thank you for sharing. Arnica is such a powerhouse, and calendula really comes alive with this method — the color is just gorgeous. Can’t wait to hear how your next batch turns out! 🌼🌿
I’m hoping to try this with fresh dandelion flowers. Any tips?! Thanks!
Hi Teri! Fresh dandelion flowers work beautifully with this method. Harvest fully opened flowers on a dry day, after the dew has evaporated, and give any tiny hitchhikers a chance to crawl away. I would avoid washing them unless absolutely necessary, since that introduces even more water. Because dandelions hold quite a bit of moisture, let them wilt for several hours or overnight, then follow the method in the post. Please let us know how it goes!