

Print
Basic Water Kefir
Ingredients
Scale
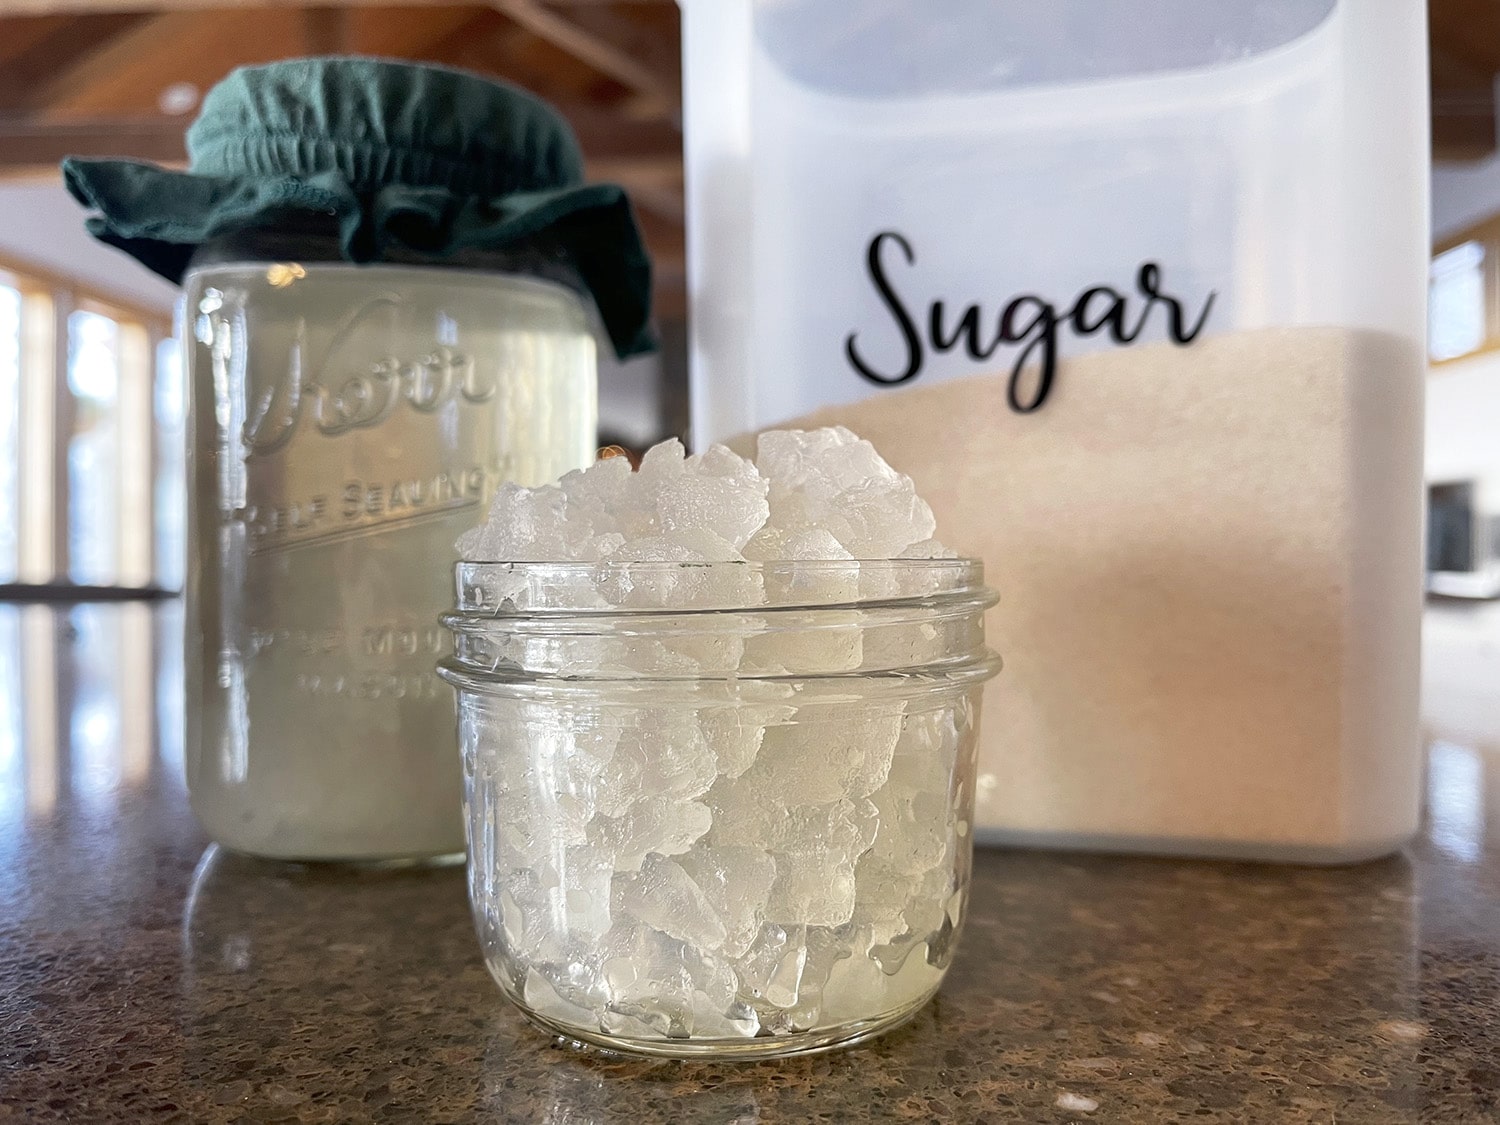
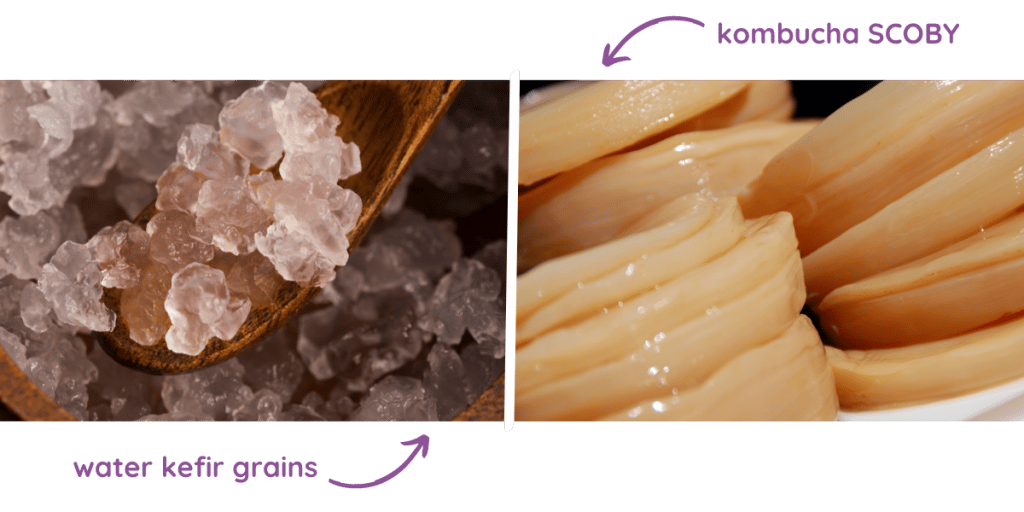
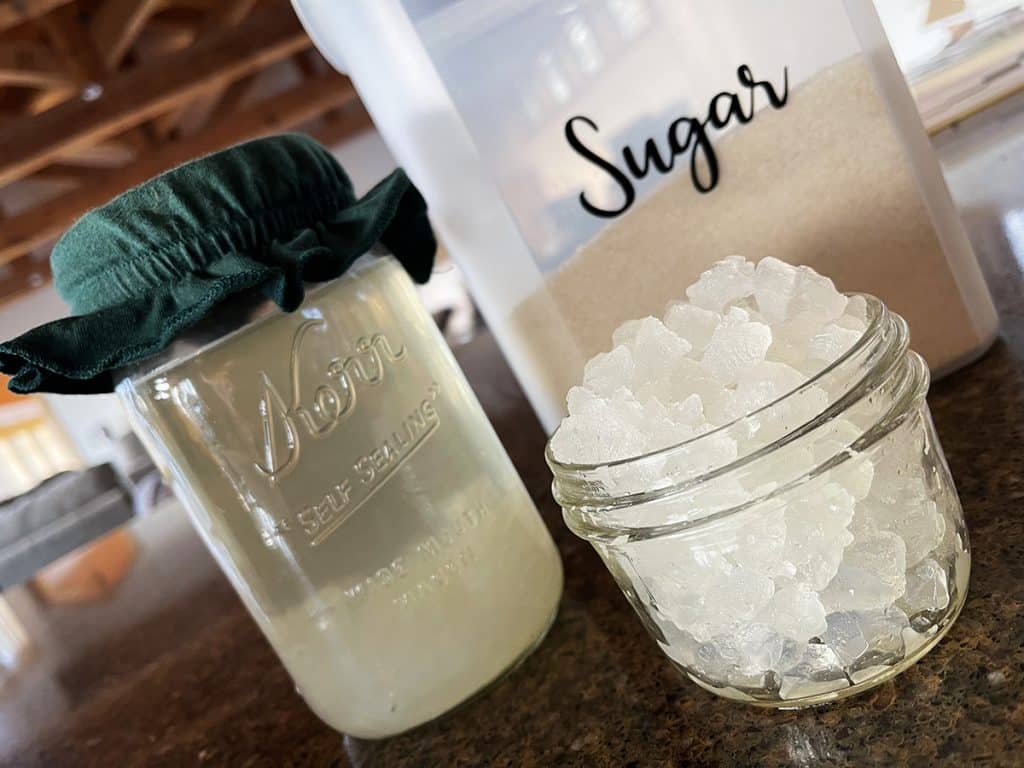
1/4–1/3 c water kefir grains
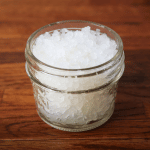
1/4 c sugar
1 quart filtered, non-chlorinated water
Instructions
- In a 1-quart mason jar, combine the sugar with about 1/2-cup hot water, stirring until sugar is completely dissolved.
- Fill jar to about the halfway point with cold water to bring down the temperature (you want it no warmer than 85F) before adding your water kefir grains.
- Add 1/4 c kefir grains and top up with more cool water.
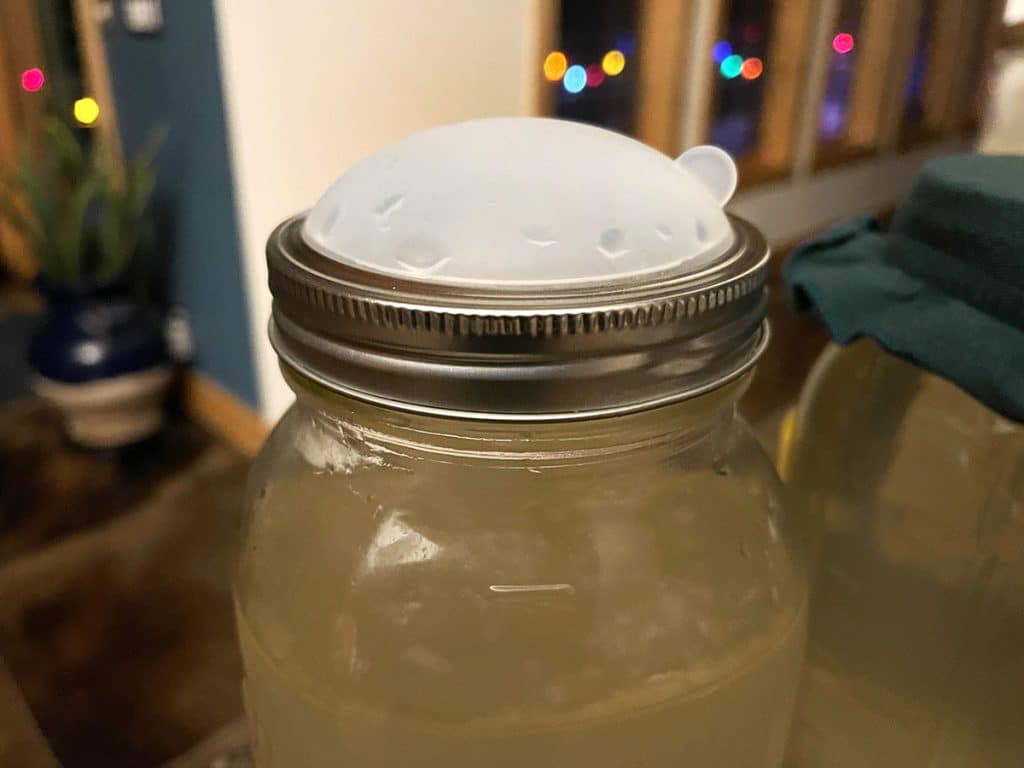
- Cover jar with a coffee filter or other tightly-woven cloth and secure with a rubber band.
- Allow to ferment at room temperature for 24-48 hours. It may take a bit longer if your house is on the colder side.
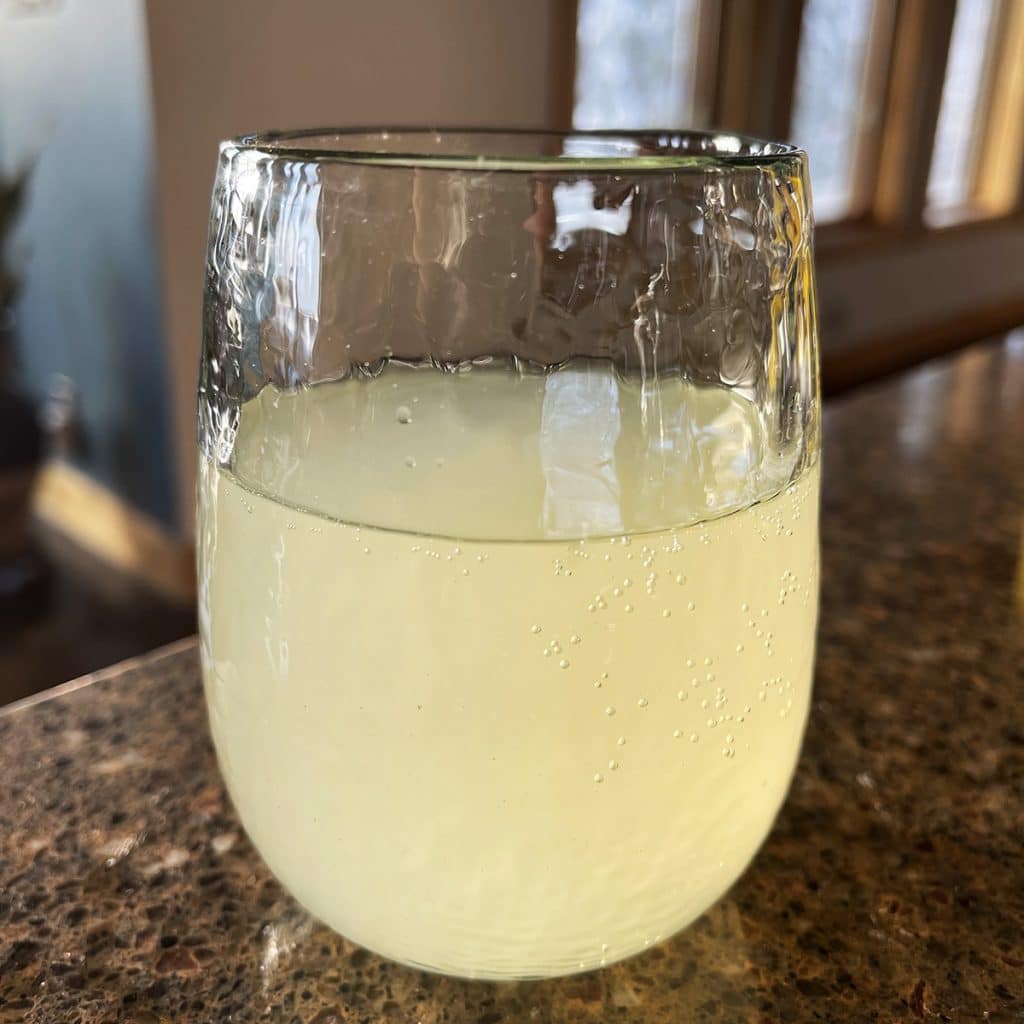
- When your water kefir is finished fermenting, strain out the grains using a fine mesh strainer over a second glass mason jar.
- Prepare a new batch of sugar water as described in steps 1 and 2 and add your grains to keep the fermenting process going. (This way, you can have a new batch of water kefir ready to drink every 3-4 days, depending on how long you let it culture.)
- You can drink the plain kefir as is, OR you can do a second ferment to add flavor and carbonation. To do a second ferment, simply add about 1/4 c of mashed fruit, grated ginger or fruit juice to your kefir and cover with an air-tight lid. Allow the kefir to ferment an additional day or two, keeping an eye on it so it doesn’t build up too much pressure. When it tastes the way you like it, call it ‘done’ and transfer to the refrigerator.
Notes
This recipe can easily be doubled to fill a 2-quart jar.